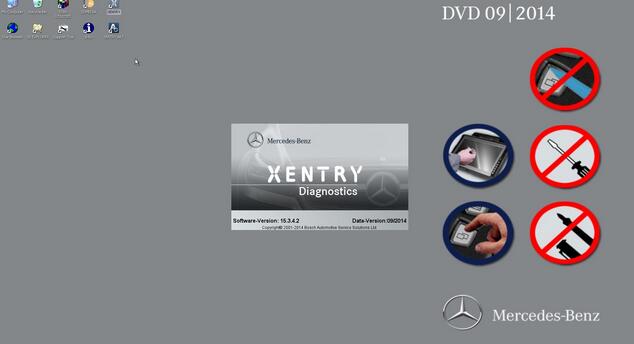
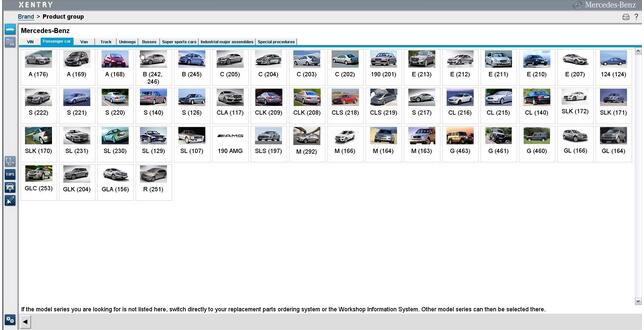
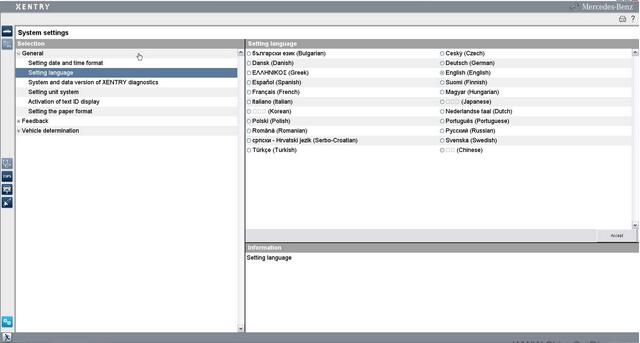
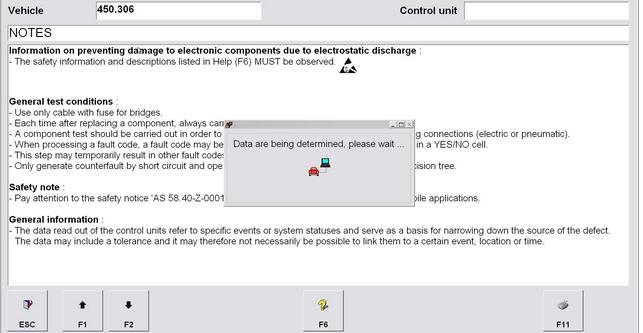
The reason why Xentry Diagnostic Openshell version 09.2014 is the best software for C3 Star is that:
anything after Xentry 09.2014 you have to do too many fixes to get it fully working..
For those with C3 mux, YOU HAVE TO KNOW:
11.2012 Xentry: best for OFFLINE PROGRAMMING
09.2014 Xentry: the BEST – the most famous and favorite
12.2015 Xentry: advise to use xentry xp/xdos up to 12/2015
05.2016 Xentry: the LAST version working with PartD aka C3
07.2018 Xentry: the NEWEST version but better work with MB SD Connect C4 or Xentry Connect C5
If there is any chance it will work with C3, the first thing is to play with toolkit.ini
It will be in c:\program files\Mercedes-Benz\SDconnect Toolkit\bin\toolkit.ini or C:\Program Files (x86)\Mercedes-Benz\SDconnect Toolkit\bin\toolkit.ini
There will be a line that says UseComPorts=
Here add the port number you wish to use.
Note that since 2016-01 part D is replace with part Z (bosch vci). so if you want to use C3, you have to use old driver.
In summary, version 09.2014 is the best for your C3!!
Upload images of C3 and XDOS 09.2014 working perfect…
IMPORTANT: XDOS 09.2014 download & how to install
09.2014 XDOS download free:
MEGA Folder with Xentry 9.2014+All Extra Stuff.zip
password: xentry92014@bylallasgr/kalatopas
BIG THANKS to all the folks that provide us all the fixes and solutions for all the errors!!! Without them this guide wouldn’t be possible! It’s not necessary to add all the name here. They know who they are!
– Congrats guys and thanks a lot –
Software requirements:
1) Windows XP Service Pack 3
2) Partition manager
3) Virtual drive program
4) Winrar
5) Adobe Acrobat Reader 10
6) Drivers for your laptop
7) Xentry 2xDVDs (modified)
8) SDMedia 1 2014
9) Fixes (bin fix / blacklists/ pic. fix)
10) Key generators
11) Framework 2.0 and 3.5 sp1
12) Active Iso maker
This installation Guide has be done for a 160GB HDD. Information for 120GB are providing.
Installation guide:
Phase 1: (XP fresh installation)
* insert bootable XP SP3 CD
* enter bios setting and make boot from CD first choice
* install win XP with following considerations in order:
* Delete your partitions if already your HDD is partitioned…
* create partition in unpartitioned space C : 30GB
* install win in C: partition after formatting drive in NTFS “”not quick””
* create two accounts : the first is STAR , the second OWNER ? login to both accounts
* restart your system
* login to STAR
* Install partition manager (Partition Manager -[epm].exe)
* Create partition as follows (160GB HDD is recommended) :
[Already Exist]-C: 30GB (STAR)
D: 30 GB (RECOVER)
E: 50 GB (WIS)
F: 50 GB (DAS)
Note: letters are extremely important. NTFS is mandatory…use Default allocation size
* Restart is required to apply partitions by partition manager program…
* Login to STAR…Open My computer.
* Install all the drivers of your machine
* Go to control panel>system>hardware>Device manager to confirm that no device hasn’t installed. If u find a device not known install its’ driver.
* Restart system as required by some drivers.
* After that install: Adobe reader [Adobe_Reader_10_0_1.exe]
Virtual clone program [SetupVirtualCloneDrive5450.exe]
Winrar [wrar400.exe]
.NET Framework 2.0 for Windows XP.exe
.NET Framework 3.5 Service pack 1 (Full Package) .exe
NOTE: If you have 120GB HHD then create the following partitions:
C : 30 GB
D: 10 GB
E: 45 GB
F: 35 GB
Phase 2: (Preparation for Xentry installation)
* Go to Newguide2j folder
* click WFP switch (stands for Windows File Protection)
* restart your system as required to apply settings
* Logging to Star account.
* Go to Newguide2j folder
* Click “prepare.bat” batch (follow commands..10 steps will be executed).system will be restarted
* Login to Star. You will find Star Utilities in your desktop
Phase 3: (DVD1 Xentry installation)
* Set time to 05/09/2014 (5th of September 2015)
* Set power option to Never (Always on)
* Go to STARTUTILITIES in desktop. Double click to start “star key center”
* Insert keys for Xentry and WIS and Das with the following considerations:
* Use keygens provided in sources.
* BE aware to tick expiry date for the keys and set it forward eg. 01/01/2020
* keys need information as Hardware id and App id and LAN id….Copy them correctly form the startkey to generate the right key
* click save
* if it is correct and saved u will notify that validity appeared after clicking save
Possibly errors: If you get an error for Xentry Diagnosis for saving the key
Example: “LicCheckLicence Xentry Diagnostics
4-Startkey can not be decoded or scheme is not recognized, or appid unknown!”
Solution: Then go to “C:\WINDOWS\ZAK\Starutils” delete the existing “CommonLic.dll” and copy the one from folder “Fixes\FOR-XENTRY-KEY-ERROR\CommonLic_2011-06-19-[For Xentry Key Error Saving]” and paste it in the above folder. After that restart Star Utilities and generate a new key and now the key will be saved without problems. Now Mount DVD1
* explore mounted dvd1/ STARDIAG
* click setup.exe
* Setup will start
* Choose Language. If you choose different language from you windows language then PC will restart. After that re-launch DVD1 to virtual drive and run again setup.exe
* Wait and follow instructions ordinary
* Setup will pop up that no startkey click yes…setup will launch Start Key Center now with new appearance
* Insert new key using Xentry key generator (Xentry Developer (1).exe) with Appid 253 and NEW hardware id…Save key…
Possibly errors: “star key center (SC0003E)”
Solution: From folder “Fixes\FOR-XENTRY-KEY-ERROR\StartKey Centr” run “StartKey Centr.exe” and now re-ender new generated key from keygen.
* Exit start key center
* Setup will continue….
NOTES: ? Setup will need to restart. This is ordinary. After restart launch setup again as previous if not launched automatically
* Plug computer to power source. If u don’t the setup will be terminated!
* New login will appear … wait…don’t switch of lap.
* DVD1 complete successfully and setup will require DVD2 after restart
Phase 4: (DVD2 Xentry installation)
After restart, run from Desktop “Star Utilities” and when it opens, press “Star Key Center” button to check if it’s ok.
Possible Error: “Launch4j This application was configured to use a bundled Java Runtime Environment but the runtime is missing or corrupted”
Solution: From folder “SKC_SETUP” run “SETUP.EXE” and choose to repair the installation. Now Star Key Center should run without problems.
* mount DVD2
* Explore DVD2 >STARDIAG
* Click setup.exe
* Setup will start
* Wait?
* Setup will complete and require YOU to click finish to restart…DON’T CLICK FINISH!!
* Go to Newguide2j
* Click after installation.bat patch and wait to be finished
* Return to Xentry setup and now click Finish. System will restart and hot fixes installation begins.
Now you have XENTRY
Phase 5: (fixes and configurations phase)
* Navigate to: Control panel > System > Hardware > Device manager > Ports (COM & LPT). Right click on that COM port you have left enabled and select Properties. Go to Port Settings tab and set these values:
Bits per second: 115200
Data bits: 8
Parity: None
Stop bits: 1
Flow Control: None
Then click on Advanced… button and make sure Use FIFO buffers are checked and COM Port Number is set to COM2.
Press OK and close Device manager.
THIS for Part D
* Apply pic. Fix [Xentry Pics Fix (9.2014).exe]
* Apply bin fixes [ALL BIN_T_D_D2 09.2014] for your version of MUX.
* Apply blacklist [Xentry_Blacklist_Fixed_Solutions_2013-2014.exe].
* From DAS AddONs 9.2014 run mb_add_installer_v1.exe and press install (wait to finish)
Phase 6: SDMedia installation
* Mount “SDMedia 1-2.2014 FULL.iso” to virtual DVD drive
* Run “setup.exe” from the main folder and wait the installation to complete
* ENJOY!!
This guide is provided by lallasgr/kalatopas after a lot of reading and searching in forums
I hope that you will be able to install Xentry 09.2014 without problems
– Good luck to everybody –


Senaste kommentarer